Sunday, 16 June 2013

Banoffee Pie!

Banoffee pie is one of my favourite puddings! It's quick and simple to make, has bananas in so must be one of my five a day, and is loved by nearly everyone (except banana phobes!). This recipe is originally Julie Ann's with a few adapations of my own, so I hope she doesn't mind me sharing it.

Julie Ann's/Yummy Mummy's Banoffee Pie

7oz/175 digestive biscuits, whizzed to fine crumbs (if you like a good thick biscuity base and sides on your pie then make half again, or even double this),
4oz/100g Stork, (if you have altered the amount of biscuits you use, make sure you do the same to the amount of Stork)
1 can of Carnation Caramel (if you want to make the toffee from scratch I have put two ways of doing this at the bottom, since this came about though I have never made my own for a banoffee pie),
3 large bananas,
1/2 pint of whipping cream.

1. Whizz the digestive biscuits to fine crumbs. Melt the margarine in a saucepan over a low heat and stir in the digestive biscuits.
2. Press this mixture into a greased tin, on the bottom and up the sides if you wish. Leave to cool in the fridge for several hours or overnight.
3. Whip the cream until thick and spreadable.
4. Chop the bananas into coin shapes and place evenly on top of your biscuit base.
5. Cover with the caramel, using a spoon to dollop it on and a knife to spread it. I find this stops it moving the bananas about too much. 
6. Cover with whipped cream and decorate as you like, I used a square of dark chocolate and a peeler to make tiny chocolate curls.
7. Keep refrigerated until ready to be devoured!!
If you want to make your own caramel there are 2 ways to do this that I know of:
1. Place a tin of condensed milk in a large pan of boiling water. Simmer for 2 hours making sure the pan never 'goes dry' and that the can is always under water. Leave to cool completely, you need to do this the day before really. I can't stress enough how much you must keep an eye on it as if it boils dry the can could explode which will ruin your kitchen and if it gets onto you or someone else cause serious burns! I have personally never done it this way but this is a very traditional way of doing it.
2. Empty a tin of condensed milk, 4oz/100g Stork and 2oz/50g of soft brown sugar into a saucepan. Put on a VERY low heat and stir all the time until it thickens. Add a few drops of vanilla essence and then leave to cool. This is how I make caramel for Millionaire's shortbread as it is a bit thicker and sets a bit more.

xxx

Sunday, 2 June 2013

Orange and lavender cake

Yesterday we spent a lovely family day out at Petworth House and Park. When we stopped to refuel we shared a piece of delicious Orange and Lavender Cake. Of course, I came home and decided I needed to bake my own version of this so have been busy in the kitchen! This is my recipe for an Orange and Lavender Cake. I was really pleased with this for a proper teatime cake, my only change would be to make it even more lavendery next time, but that may not be to everyone's taste!

Yummy Mummy's Orange and Lavender Cake

Cake mix:
8oz/200g self raising flour,
5oz/125g lavender sugar (you can see here on my blog how to make your own or you can buy it:
http://yummymummy2012.blogspot.co.uk/2012/10/lavenders-blue-dilly-dilly.html)
5oz/125g Stork,
1 tsp baking powder,
2 large eggs,
Zest of 2 oranges (I used big Navel oranges),
Juice of 1 orange. 

Orange/lavender syrup:
Juice of 1 orange,
3tbsps of lavender sugar.

Icing:
1 mug of icing sugar,
Hot water (you could also make it up with orange juice from another orange),
Food colouring (I went for a lavender colour but pale orange or white would also look lovely),
2tbsp purple decorating sugar,
2tsp lavender sugar.

1. Preheat the oven to 180C/160C fan/gas mark 4.
2. Mix together the self raising flour, lavender sugar, Stork, eggs and baking powder (the mixture will be quite dry at the moment).
3. Grate the zest into the mixture and add the orange juice and mix quickly.
4. Grease a large round cake tin (I used a loose bottomed tin) and spoon the mixture in, it should come up just above half way.
5. Bake in the oven for
6. When the cake is nearly ready make the orange/lavender syrup by heating the orange juice gently (or cheat and stick it in the microwave for 30 seconds like I did), then stirring in the lavender sugar until it completely dissolves. Make sure you try a big spoonful of this, it is to die for!!


6. Remove from the oven and using a cocktail stick prick small, but deep, holes all over the top of the cake. Gently drizzle over the orange and lavender syrup mixture and leave the cake in the tin until completely cool. 
7. Remove from the tin and mix up the icing, spread on top and decorate with some extra lavender sugar (including petals) and purple sugar.


Hope you enjoy baking this cake and enjoying it in the garden in the sunshine, with a cup of tea!
xxxx

Saturday, 25 May 2013

Picnic treats!

It has become something of a tradition now that when our friend Rob has a birthday we all gather in the park at the Birthday Tree (which grows balloons once a year) to have a big picnic and play games. This year I decided to bake some family favourites; Brunch and Picnic Slice and thought I would share the recipes. Both these recipes are quick to make and don't have too many ingredients, making them perfect for a quick bake on a day when you really want to be in the sunshine!

The Brunch recipe is in American cups but my Mum uses a teacup instead and it works great, so don't worry if you don't own a set of cups!

Brunch Slices

1½ cups self raising flour,
1½ cups cornflakes, crushed,
1½ cups dessicated coconut,
6oz Stork,
¾ cup sugar,


Icing sugar and hot water to ice it with after.


1. Preheat the oven to 180C.
2. Melt the Stork in a pan over a low heat then stir in all the other ingredients (expect the icing sugar and hot water).
3. Press into a tin and bake for 20 minutes until lightly golden.
4. Mix together the icing sugar and hot water to ice it with whilst it is still hot.
5. When it has cooled cut it into slices and pack up for your picnic!


Picnic Slice


8oz/200g chocolate (I use Cadbury’s Dairy Milk),
2oz/50g Stork,
4oz/100g caster sugar,
1 large egg,
4oz/100g dessicated coconut,
2oz/50g glace cherries, halved,
2oz/50g sultanas,

1. Melt the chocolate, either in a bowl over hot water or in the microwave, and spread in the bottom of a lined tin. Leave to cool.
2. Preheat the oven to 150C.
3. Cream together the Stork and the sugar,
4. Mix in all the other ingredients and spread on top of the cooled chocolate.
5. Bake until golden brown on top. The original recipe says for 25-30 minutes but in my oven it took 40-45 minutes so be prepared for it to take a little longer.
6. Leave to cool for 5 minutes, then cut into squares.
7. When it has completely cooled take it out of the tin and add to your picnic hamper!

Hope you enjoy these recipes, we are looking forward to nomming them tomorrow!
xxx


Wednesday, 15 May 2013

I've got a lovely bunch of coconuts!

These are one of my husbands favourite treats, so when I came across Nigella's recipe I had to give them a go. I actually used a bit less coconut than was in the recipe due to Budgens only having one box and they turned out great. Nigella suggests cooking them for 20 minutes until they start to brown, mine went brown within 5 minutes of cooking but were no way ready so I left them in for 20 minutes and they were a nice golden colour and continued cooking the middle when I took them out the oven! I also substituted the almonds for hazelnut (due to what was in my cupboard) and they tasted yummy.  This recipe is super easy and quick to whip up, and they look so pretty when they are baked!
So here we go...

Nigella's Coconut Macaroons

250g shredded coconut,
2 egg whites,
1/4 teaspoon cream of tartar,
A pinch of salt,
1tsp of vanilla extract,
30g ground almonds,
100g castor sugar.

1. Preheat the oven to 170C/gas mark 3.
2. Whisk the egg whites until just frothy and add the cream of tartar.
  3. Whisk until they are white and beginning to form peaks. 
4. Add the castor sugar, a spoonful at a time and whisk until the mixture forms soft peaks that will hold their shape (if you have a Kitchenaid (or similar) you can chuck all the sugar in at once and it will do it for you).
5. Add all the rest of the ingredients and mix until it forms a sticky mixture that can be shaped.
6. Spoon out roundish balls onto a lined baking tray and bake for about 20 minutes.
 7. Leave to cool. I dipped the bottom of mine in melted chocolate (about 100g altogether) a la Mrs Crimble style!
Off to enjoy one now, happy baking!
xxx

Thursday, 9 May 2013

A cake fit for a princess...

A prinsesstårta is a traditional Swedish cake, and one of the most popular with over 500,000 sold and consumed each year. The cake is traditionally green, although nowadays they often come in pink too, and was a great favourite of Swedish princesses (hence the name!). There are lots of variations on this recipe and I have posted some links with other recipes at the bottom of this page. It is made of sponge, either Victoria or genoise, with layers of either cream, custard, creme patissiere, jam or fresh fruit, all covered with a thin layer of marzipan and a flower on top. So here is my recipe for a Princess Cake:

Yummy Mummy's Princess Cake

8oz/200g self raising flour,
8oz/200g castor sugar,
8oz/200g Stork,
4 eggs,
1tsp vanilla essence.

Raspberry jam,
Custard- either made with sugar, custard powder and milk or bought,
250ml double cream,
Pack of white marzipan,
Green and pink food colourings (gels are best if you have them).

1. Preheat the oven to 190C/gas mark 5.
2. Mix together the self raising flour, castor sugar, Stork, eggs and vanilla essence.
3. Spoon into two lined round cake tins and bake for 20 minutes until lightly golden on top. Leave to cool.
4. When the cakes have cooled cut each in half so you have 4 thin cakes.
5. Layer the cakes with your fillings, not including the cream. I used custard, jam, then custard.
6. Whip the cream until thick then spread on top of the cake, creating a dome shape. I only used a small pot of cream as I'm not a huge cream fan but some people like loads of cream and create a huge dome of cream on top.
7. Remove a small piece of marzipan for the flower on top. Colour the rest of the marzipan bright green, kneading it well until it is all one colour. Your hands will need a good wash afterwards!
8. Colour the remaining marzipan pink and use it to make a small flower for on top. A simple way to do this is to make a cone shape then rounded petals, add them so they overlap, building the flower outwards until you are happy with the shape. You can also use this simple method for making easy sugarpaste flowers.

 9. Roll the green marzipan out thinly, using icing sugar to stop it sticking to the worktop. Cover the cake with it and cut off any excess from the bottom. Add the marzipan flower to the top and voila! 


Here are a few links to some other Princess Cake recipes. Hope you enjoy making your own:


xxx


Saturday, 4 May 2013

Breakfast bars!

Since becoming pregnant with our 2nd baby I find that sometimes I really want something to nibble on and know that turning to the biscuits is not the best option to fill me up! Nigella posted this recipe on Facebook today so I decided to try it as they looked packed with fruit, nuts and seeds, and oats for lasting energy. As they use condensed milk rather than golden syrup, sugar and butter they don't have as much fat or sugar as regular flapjacks. This recipe is great as you can completely adapt what goes into it depending on what's in your cupboard/what you like, as long as you keep to the same proportions. Here is Nigella's original recipe:

Nigella's Breakfast Bars 

1 x 397g can condensed milk,
250g rolled oats,
75g shredded coconut,
100g dried cranberries (I swapped these for chopped dates),
125g mixed seeds (I used pumpkin, sesame, sunflower and linseed- make sure you don't use the savoury ones by mistake!),
125g natural unsalted peanuts (I swapped these for walnuts).

1. Preheat the oven to 130C/gas mark 1/2 and line a baking tin (I used a rectangular one).
2. Mix together the oats, fruit, seeds and nuts in a bowl.
3. Gently heat the condensed milk in a pan so it is just warm and a bit runnier (I cheated and did this in the microwave for 50 seconds, perfect and much quicker, plus less washing up!).
4. Mix the condensed milk thoroughly into the oats, fruit, seeds and nuts until well combined.
5. Press into the tin and bake in the oven for 1 hour.
6. Remove from the oven and leave for 15 minutes. Cut into 16 chunky bars and then leave to cool completely.


I am looking forward to one of these for my breakfast tomorrow, and maybe 11's too!!
You can find Nigella's recipe page here:
http://www.nigella.com/recipes/view/breakfast-bars-55 
xxx 

Wednesday, 24 April 2013

Oreo cupcakes!

I'm not going to try and deny it, I LOVE Oreo cookies!! I wish we could get as many different varieties here in the UK as you can in the USA. On our honeymoon in America I dread to think how many hubby and I got through (you can buy massive packs!) When thinking which cakes to bake for some of my friends today Oreos instantly came to mind, and I thought I would share my recipe with you all...

Yummy Mummy's Oreo Cupcakes
Makes 12 cupcakes

6oz/150g self raising flour,
6oz/150g Stork,
6oz/150g castor sugar,
3 eggs,
2tbsp cocoa,

2 packs of Oreo Cookies (you need between 1-2 packs but got to have some for munching),

6oz/150g Stork,
12oz/300g icing sugar.

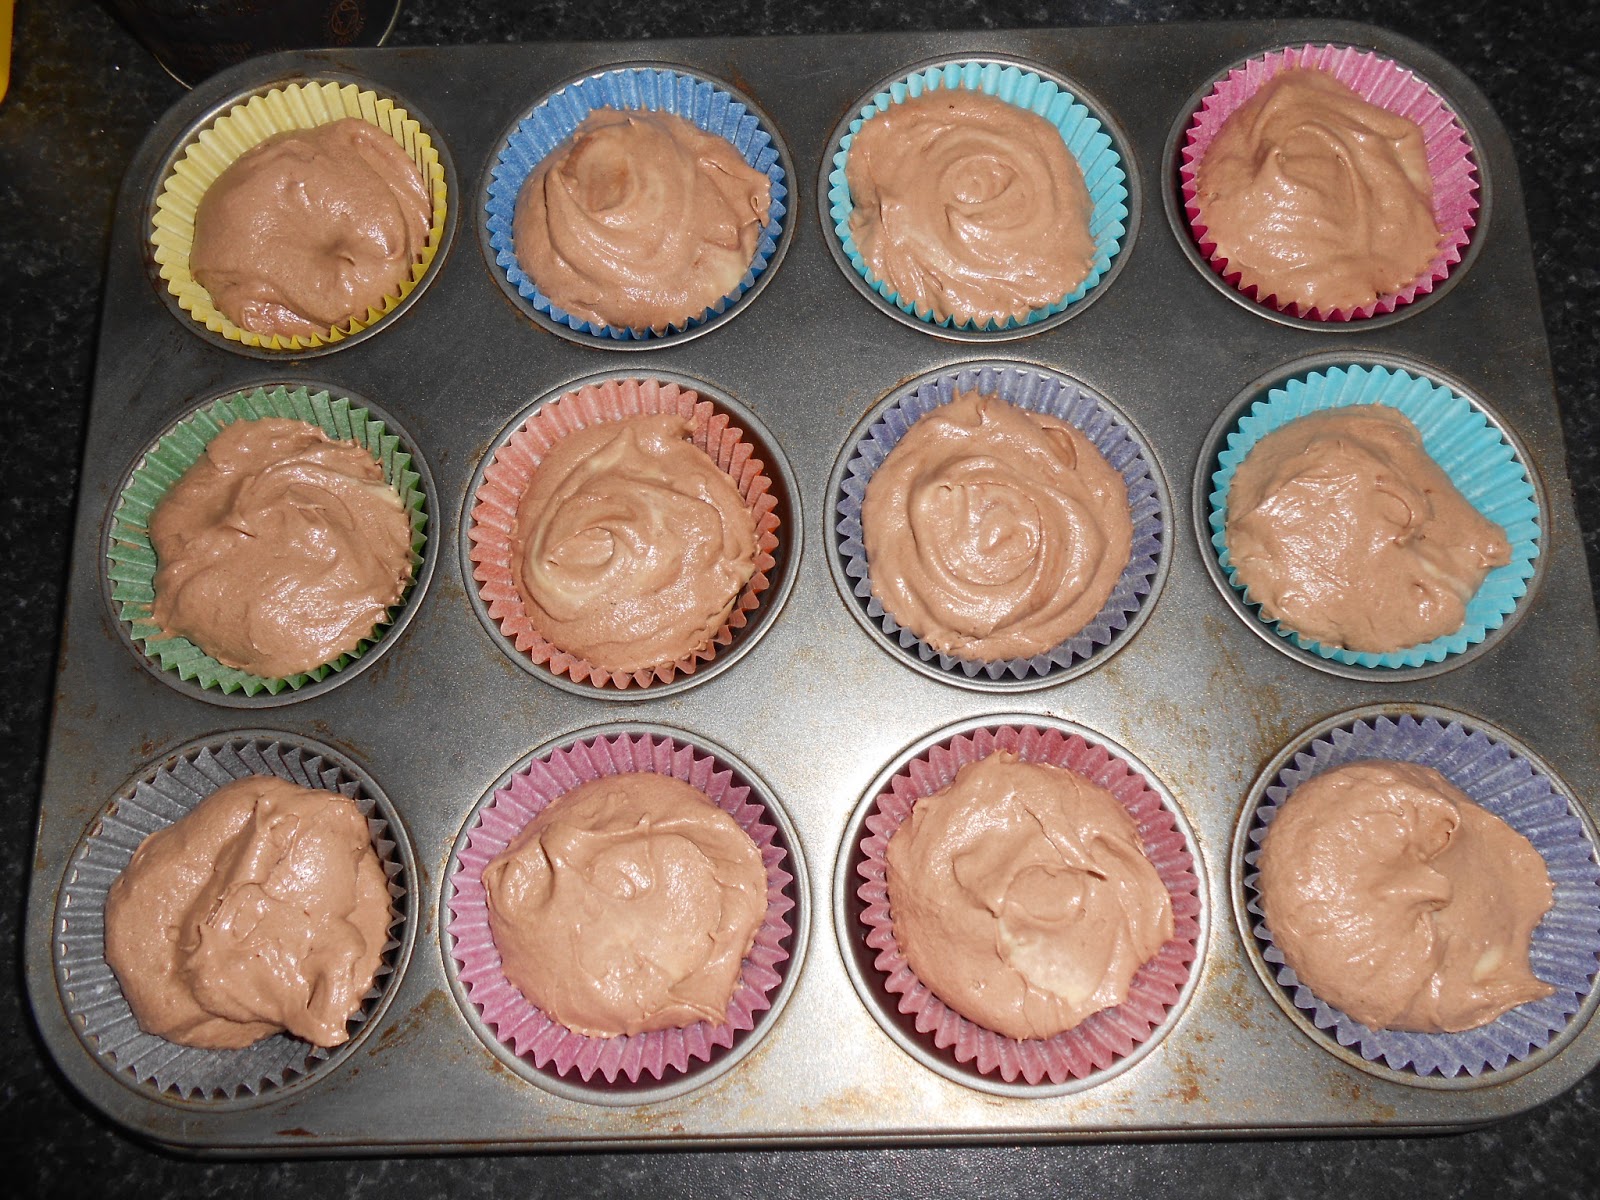
1. Preheat the oven to 200C/gas mark 6. Put 12 cupcake cases into a muffin tray and put 1 Oreo cookie into each case.
2. Mix together the self raising flour, Stork, castor sugar and eggs. Add the cocoa. If the mixture feels quite thick then just add a little splosh of milk.
3. Spoon the cake mixture into the cases on top of the Oreos, making sure they are completely covered.
4. Bake for 15-20 minutes and then leave to cool completely.
5. Depending on how thick you want your buttercream to be will depend on how many Oreo's you put into it. I like mine packed with cookie crumbs, but that does mean it is too thick to pipe so you have to use less Oreos if you want to pipe it on, rather than smear it on! I've gone for the messy smear on approach with a pallette knife. Whizz the Oreos (I used 8) until they are fine crumbs.
6. Mix together the Stork and icing sugar and stir in the cookie crumbs.
7. When the cakes are completely cool smear on the cookie buttercream and enjoy!
Happy baking!
xxx